Configure Print management
Now we will enable EasyDox in Print management.
Print management setting
- Navigate to Accounts receivables > Setup > Forms > Forms Setup and click on Print management
- Select the Node for
Customer invoice - Create a default setting for
Customer invoiceif not created already - Select the
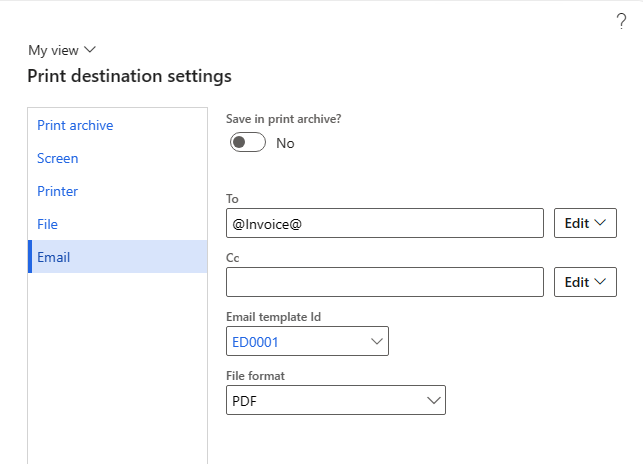
Destinationin the Print settings - Choose
Emailas the destination and enter the following data- To: @Invoice@
- Email template id: ED0001
- File format: PDF
info
Dynamics 365 will convert @Invoice@ to the email specified on the invoice customer account with the purpose Invoice.